So once again, I was really bad about taking before pictures. I set out last weekend with a mission...forge the liquor cabinet! While surfing Joss & Main I found this really nifty liquor cabinet. It had a spot to hang wine glasses & holes for wine bottles, etc. I had this hand-me-down cabinet, it wasn't quite as big, but it was currently located in a prime spot...under my shot glass collection! I was using it for a multi-function storage center. I kept my "holiday" dishes in there, some cook books and some smaller appliances like my stand mixer, food processor, etc. I was determined to have my liquor cabinet! After tons of re-arranging I finally got the liquor out of my great-grandmother's buffet (so she could finally stop turning over in her grave), and got the "holiday" dishes in. Which worked out better since they're only used a few times a year. I reconfigured my beverage bar to fit my appliances on the bottom shelf, and went to work from there.
The drawer I had designated to wine & bar tools (which we use quite frequently) I cleaned out and put in a wire silverware caddie I had lying around & was debating on tossing. It works perfect for my wine pumps, stoppers, openers & bar tools.
As you can see I have quite a few stops & pour spouts so my rabbit wine opener (if you do not have one, you musts get one! They're around $15 at TJ Maxx or Target, but they are worth every penny!!!) doesn't fit down flush in the basket, but I don't mind, it makes it easier to grab...plus I use it more frequently than the pour spouts & if I need a stop I usually grab it when I get the opener. Plus when I'm mixing cocktails I can just grab the caddie & no more digging around & playing guess which drawer I'm in for my tools! (PS if you're wondering where to get your own caddie they have them usually at Target & TJ Maxx...however, those are small and wooden. I believe this one came from the Dollar Tree :)
I had this wine rack that I had purchased 2 of at IKEA for $9 a few years back. It holds 9 bottles & is stack-able.

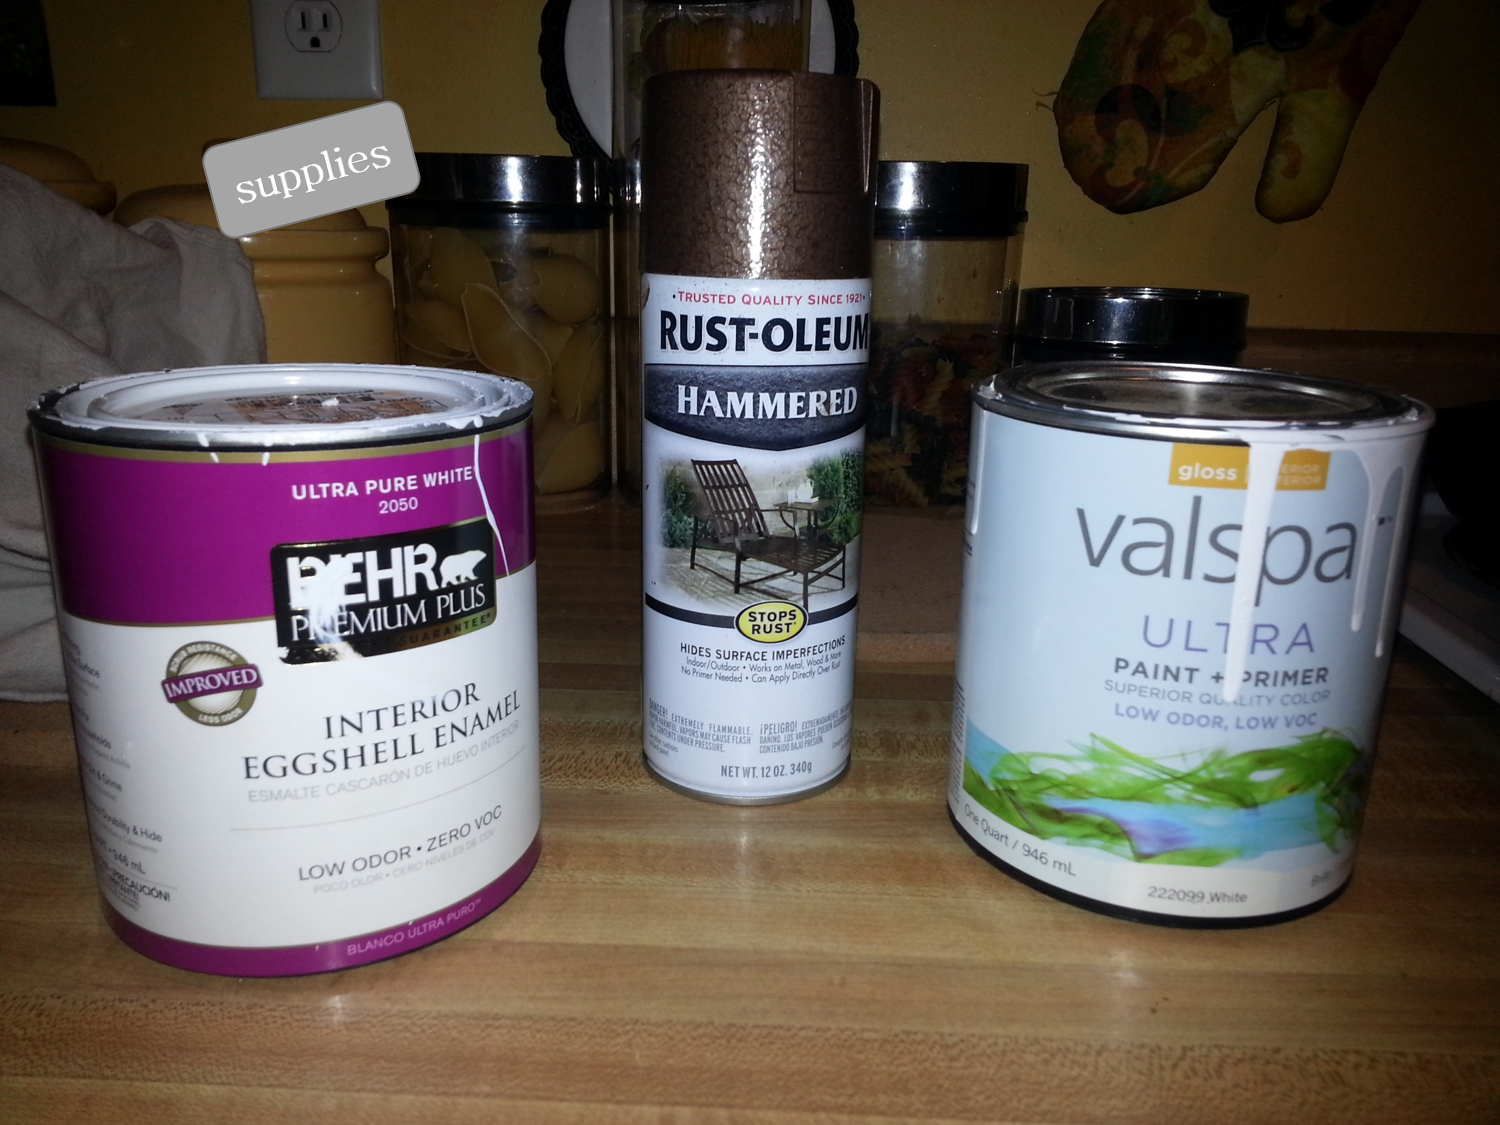
I already had the white gloss paint from painting another piece, and I always buys the quarts! They run between $12-15 depending on whether or not you want primer, brand etc and they go a LONG way. This little quart of white gloss is on it's 3rd piece of furniture currently! I purchased the eggshell in a light grey to go in the back of my cabinet to make it pop a little...well turns out it wasn't as grey as I thought it was. I kept asking my husband for his opinion, but he was aggravated that I had turned his quick Home Depot trip into my own little shopping spree, so he wasn't much help. But he ended up paying for it so I'm OK with that! Plus I can always go back and have them add more color for my next project! The hammered spray paint was around $6. I was a little hesitant because the normal spray paint is only $3, but I really wanted the metal look, not just color. It was a good investment...especially since I went on to paint my Shepard's hook in my garden, my shower curtain rod & rings, & some silver plated picture frames that had began to turn. Oh! And some dresser pulls...that you'll see in a later post!

Once I had my general configuration down, I set out to paint! I removed the hinges & doors from the cabinet along with the knobs (I bought those previously when I inherited the cabinet from my mom). I don't have a good before shot of the front, but there's the inside. The hinges were painted black as well, but the hammered spray paint took care of those for me! I have a spray gun that my husband bought me at Harbor Freight for less than $15 & we have an air compressor so I was able to spray the outside of the cabinet & shelves. It went relatively fast. It took a few coats since the cabinet was black and I was going to white, but my friend tagged in when my trigger finger needed a break. She got dinner & margaritas out of the deal, so she didn't mind! After the outside was dry to the touch & I had sprayed the doors (...but didn't take out the glass or tape first...) It was almost dark so I brought it inside to finish drying overnight. The next morning I broke out my trusty foam brushes and painted the inside. It didn't have enough depth of color for me, so I broke out some black acrylic paint from my art stash & a small brush and while the inside was still wet, I painted some black in the creases of the bead board. Then I took the foam brush that was relatively dry, and went over it to blend. I was quite pleased with the result of the semi-aged looking back. I lined the shelves with gripping shelf liner since there was going to be a fair amount glass on them. I have some metal wine glass holders that my husband is tasked with mounting on top...only because they are currently mounted on another shelf & I am really bad at using his big drill & my tiny one just wouldn't cut it. I had a 3 slot wine glass rack that mounts under your cabinets, purchased at Lowe's years ago for around $5/ea. Both of mine would not fit in my newly forged liquor cabinet, so on one of our Lowe's trips, I found that they have single slot ones now for less than $3. So I purchased one and with my 3 slot one will give me the room to hang all of my wine glasses.
Looking back on things, I should have taken the glass out of the doors before I sprayed them, but I didn't. As a result I thought I had a fair amount of scraping in my future. However, After I took the glass out of the doors, I rubbed some low odor mineral spirits on the painted parts & it immediately started to come off. The thicker parts once I got the scraping going, I could just peel it off. It went super quick..however I did scrape each individual pane in the first door before I thought of taking the glass out.

After my cabinet was reassembled I was very pleased at how well the hammered metal hinges popped on the white paint. My style is more of a rustic, French Country look, but since I didn't have the time or the patience to use the antiquing glaze that I had purchased, I decided just to rough up the paint in some spots with a piece of fine grit sand paper. It let the some of the black through in spots and looks great. Plus, this cabinet is located in my kitchen right beside the high traffic garage door, so I thought I'd save myself the anguish & breath of yelling at my husband, brother-in-law or dogs when they scratched my paint job. Also, my kitchen table is black, so it ties in very well with my white cabinets & black table.
And yes, even my IKEA wine rack got a make over! I sprayed it with the hammered spray paint & it turned out great. Since it's wood it doesn't have quite the texture as if it were metal, but the color is what I was going for. Now the wine rack matches the hinges. And finally my husband's Absinthe set has a proper place. It was previously residing on top of this cabinet & left little to no view of our shot glass collection.
I left the inside of the cabinet doors natural wood...not necessarily because I decided to, but because I was ready to be done! Plus that's a super easy touch up job for later...if I ever get around to it.

All in all, here were my costs:
- hammered spray paint, around $6
- quart of grey eggshell $13
- under cabinet mount wine glass rack, 1 slot, less than $3
- quart of white gloss (already had, but around the same price as the grey if purchased)
- NOTE: one quart would have totally done this entire cabinet with some leftover.
- sponge brushes, already in my stash!
Now all of my alcohol & supplies reside in this one cabinet vs being spread out all over the kitchen.
Total this project cost me, well, my husband, around $25 and I found homes for some items I already had, but had no clue what I was ever going to do with them!
Recycle, Re-purpose, Reuse.


No comments:
Post a Comment